Have you ever felt frustrated from not being able to keep up with and explore all the recent updates in the Microsoft ecosystem, especially Power BI and Microsoft Fabric? Imagine having your own sandbox where you could experiment and eventually showcase your projects to the world! If you're nodding along, then breathe a sigh of relief. You're not alone, and better yet, you've stumbled upon the definitive guide to creating that magical space!
Table of Content
- Introduction
- Creating Your Free Azure Account?
- Setting up Personal Power BI Environment
- Understanding licensing strategy
- Continuing your Journey
- FAQs
Introduction
Whether you are a data professional such as data analysts, data engineers or even an aspiring one interested in the field of data, this guide is ideal for you to set up your personal environment to try out the new features. For anyone wanting to leverage the power of Azure, signing up for an Azure Free Account is the logical first step to take. This will open up a whole new world where you will be able to access all Azure services, including Power BI and Microsft Fabric.
What You Need to Know:
- A valid email address and phone number for verification purposes
- A Credit/Debit Card (alternatively, students can register here using a valid college email to get an Azure for Students account)
Creating Your Free Azure Account?
Setting up a free Azure account grants you access to a vast array of Azure services, with substantial initial credits and long-term free services. Users receive USD$200 in Azure credits or its equivalent in your local currency for the first 30 days. You will also be able to access several services free for 12 months and some of these services are free for lifetime.
Steps:
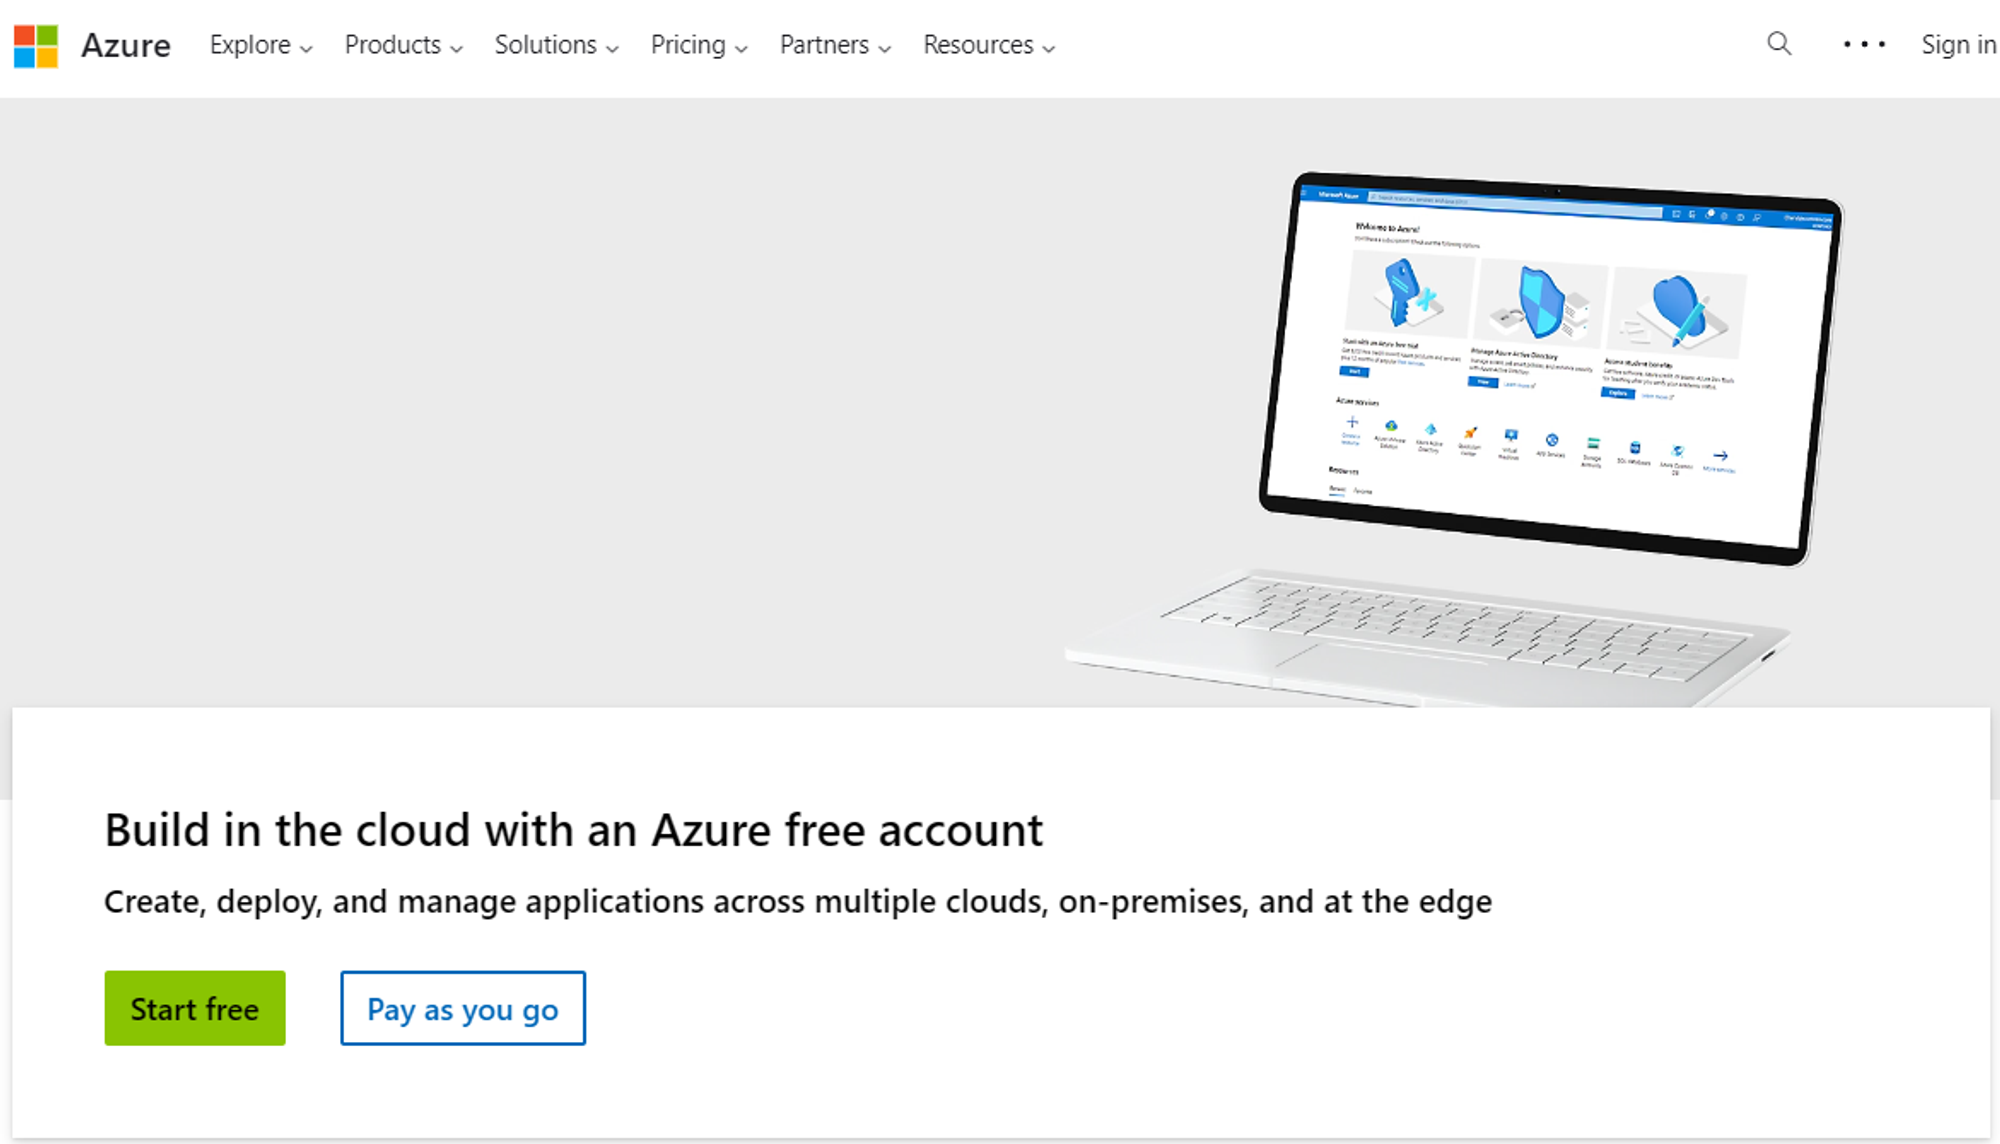
1. Go to the Azure Home Page and Click on the 'Start Free' option.
- Use your email address to create a Microsoft account. Fill in the requested details and continue to the next steps.
- Verify your email through a verification code sent to your address and complete any captcha requirements.
- On the Azure Sign-up page, enter your region, name, phone number, and previously used email address.

- Opt to receive a text or a call, then enter the received verification code.
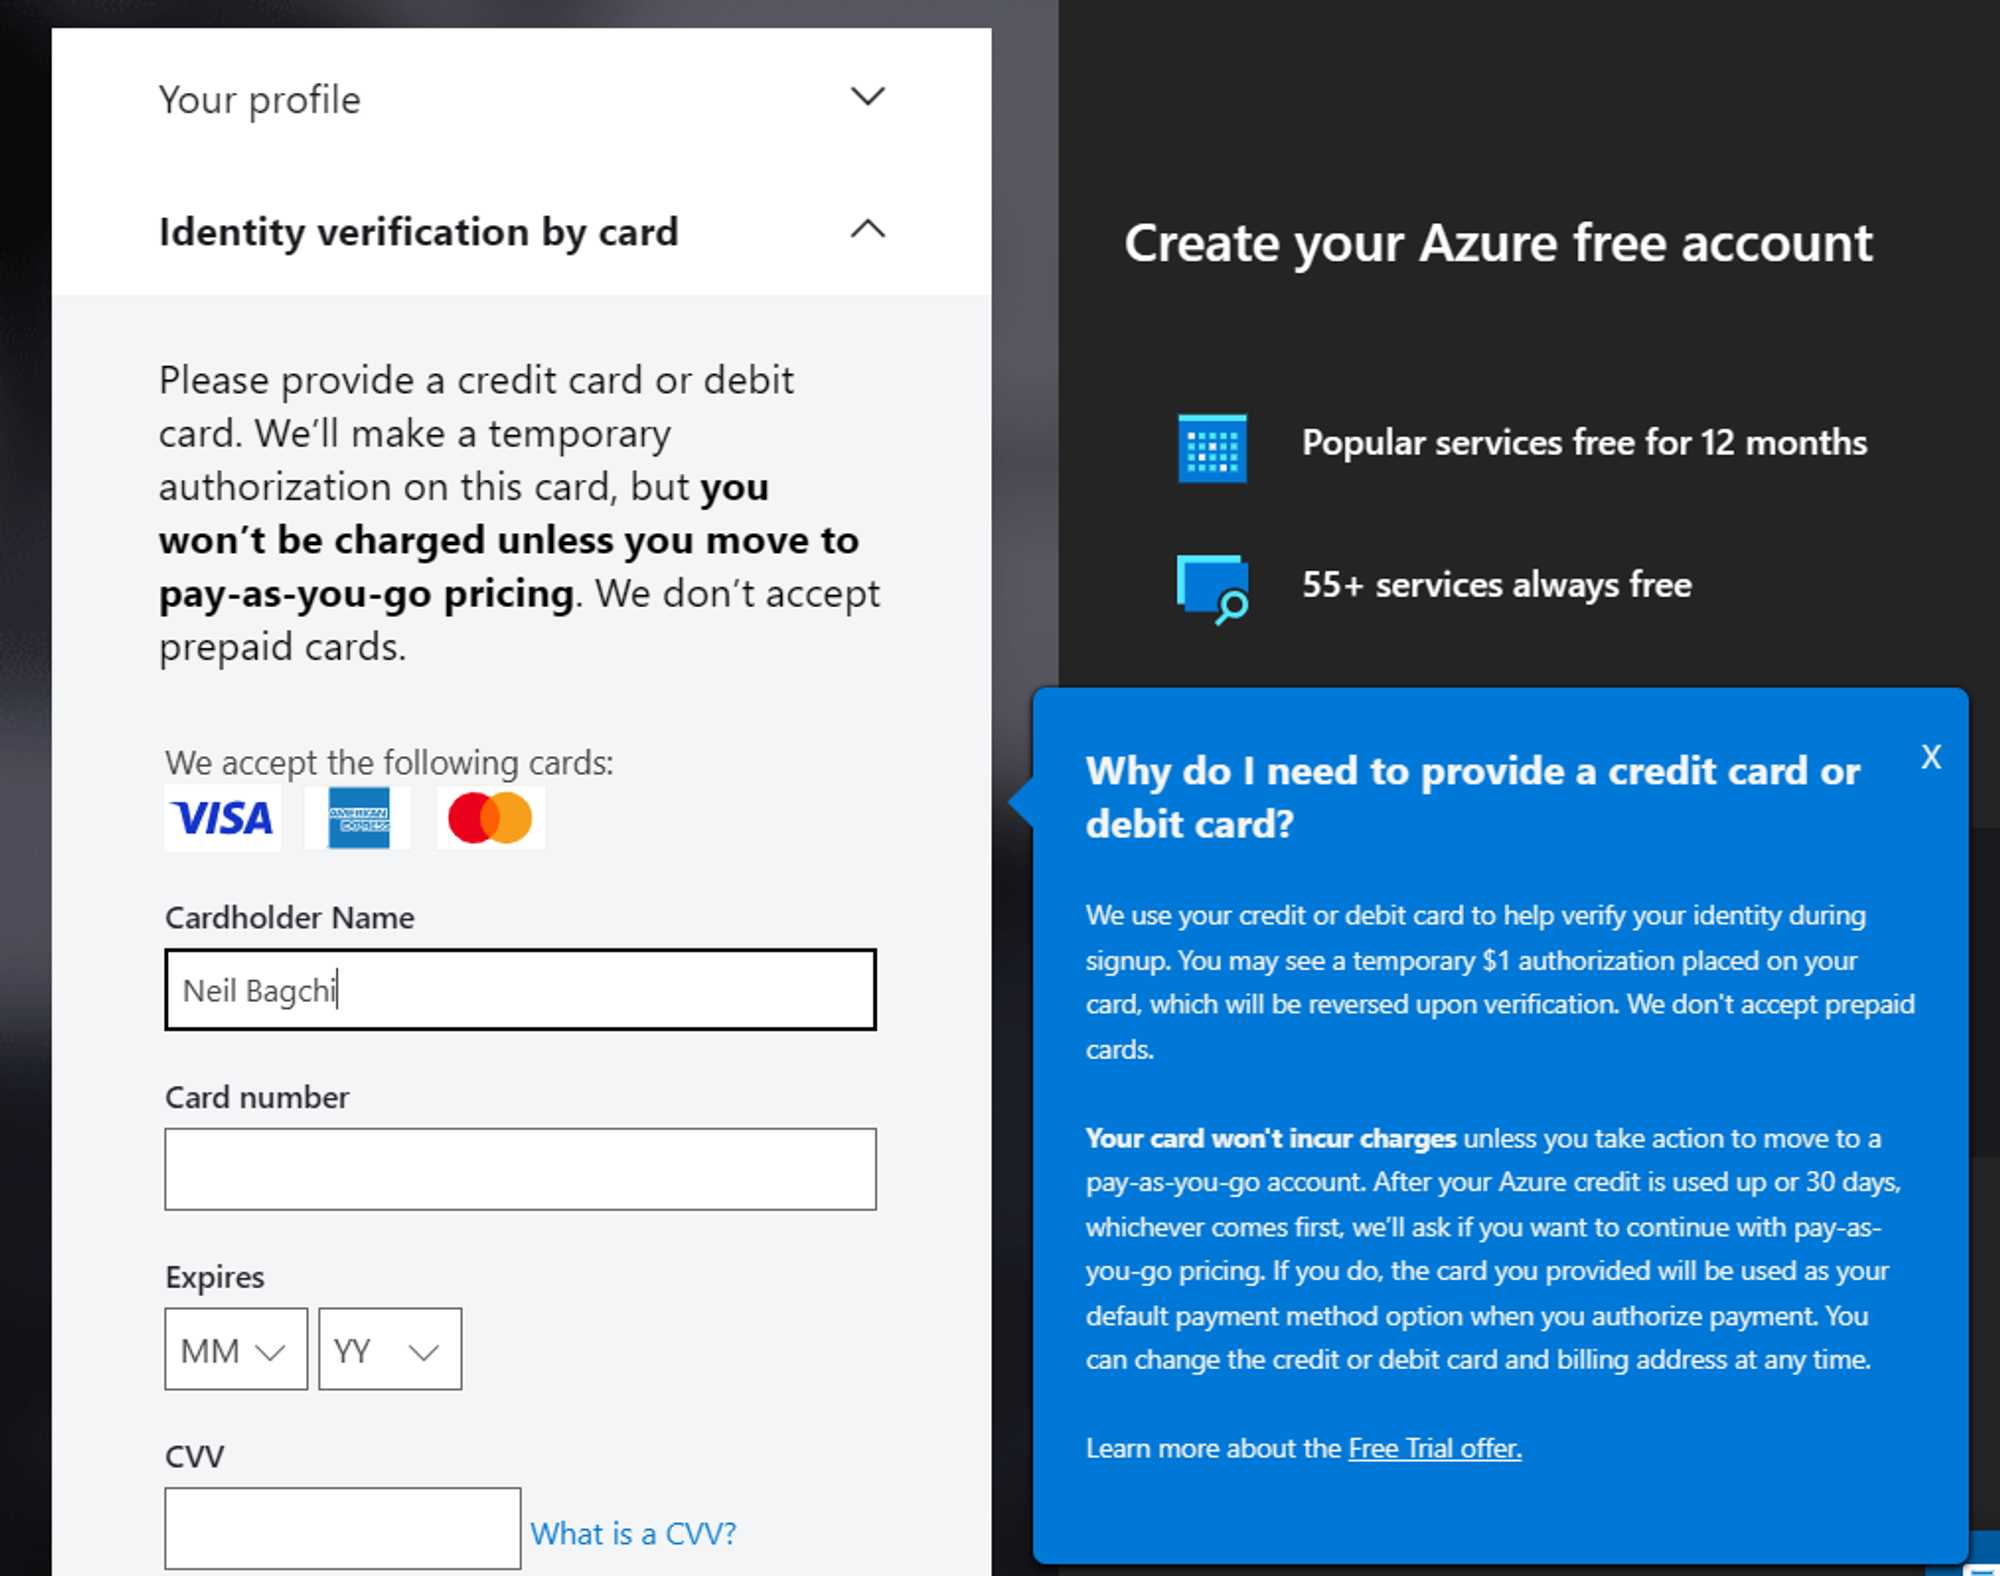
- If not using the Azure for Students option, input your payment details, ensuring your card is enabled for international transactions. Make sure you have a Master Card/American Express/Visa Credit or Debit card.
- Check the Terms and Conditions and click Sign-up. You have successfully created a Microsoft Azure free account and now have a lumpsum balance of $200.
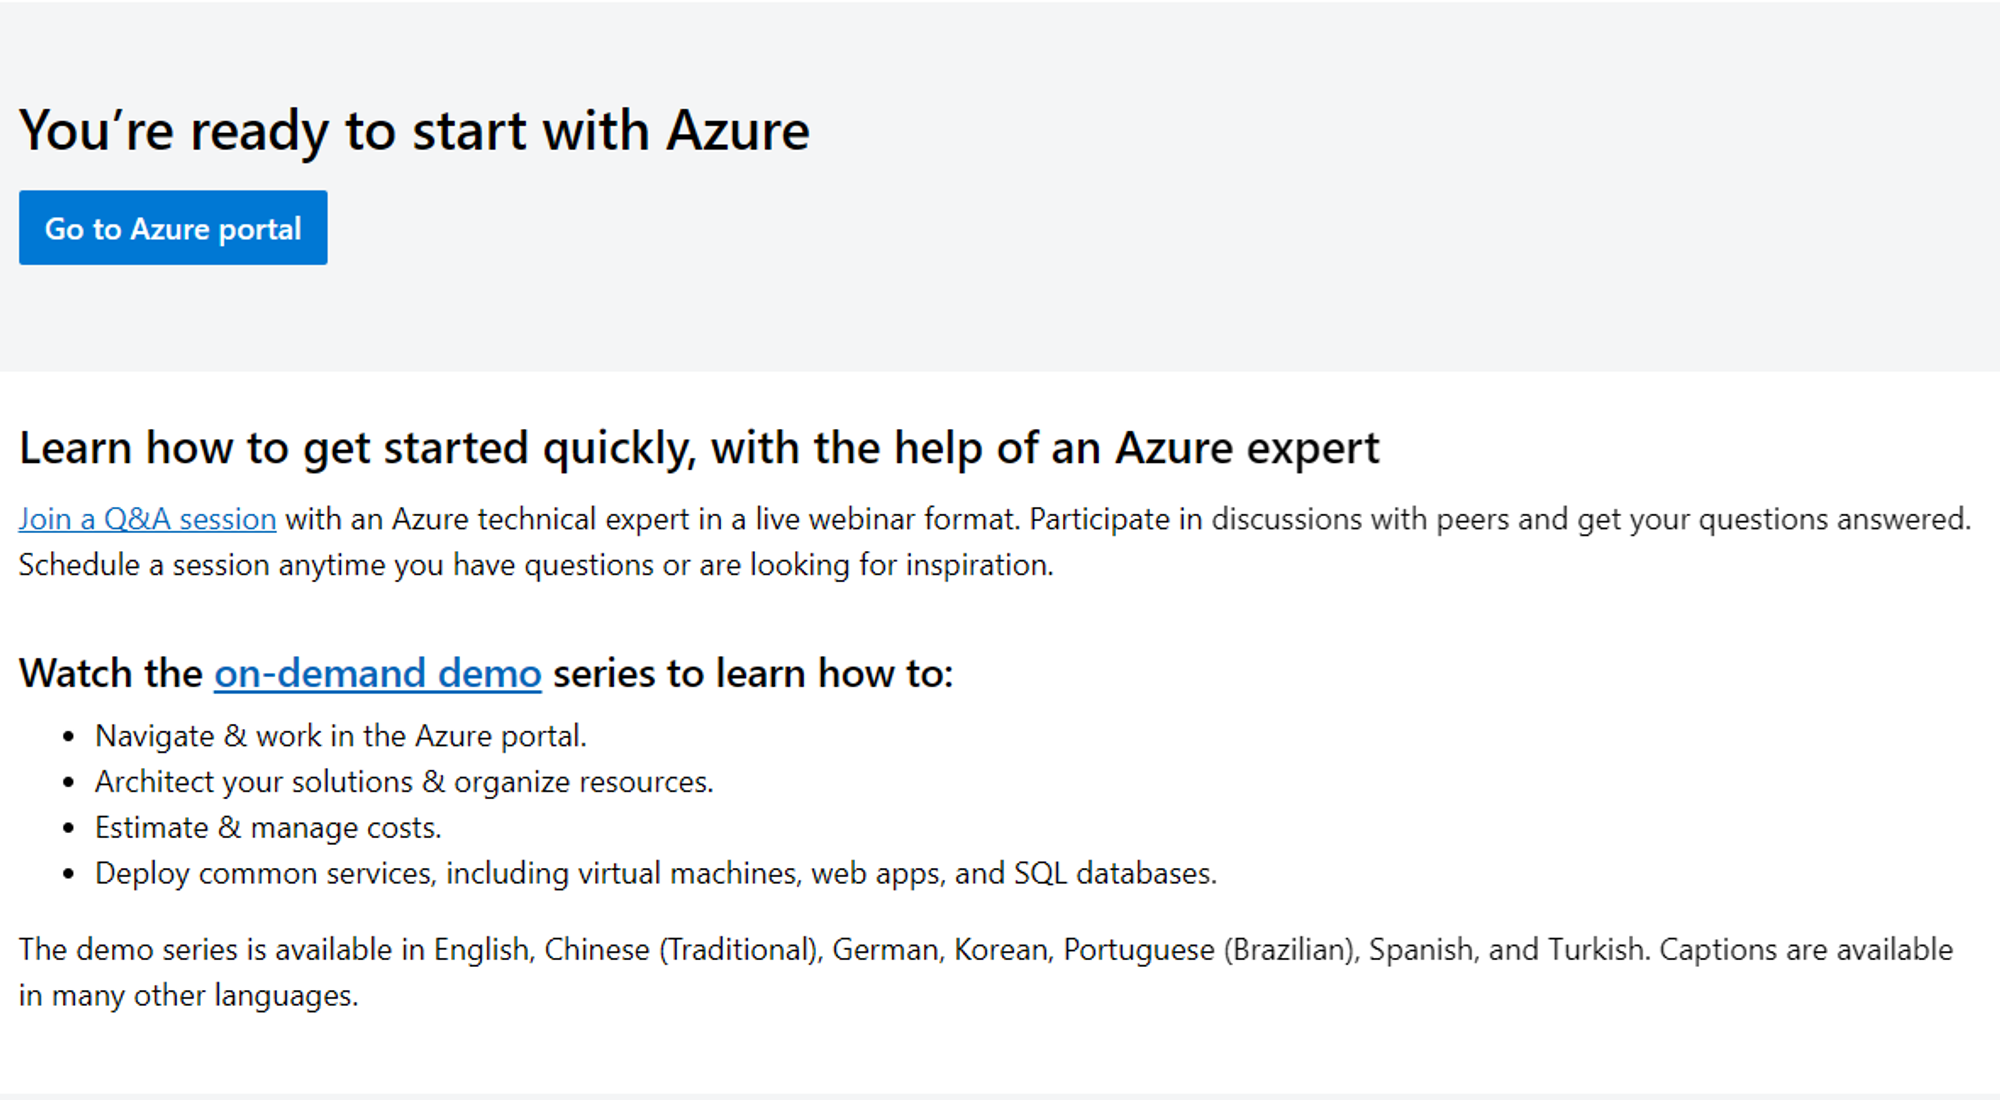
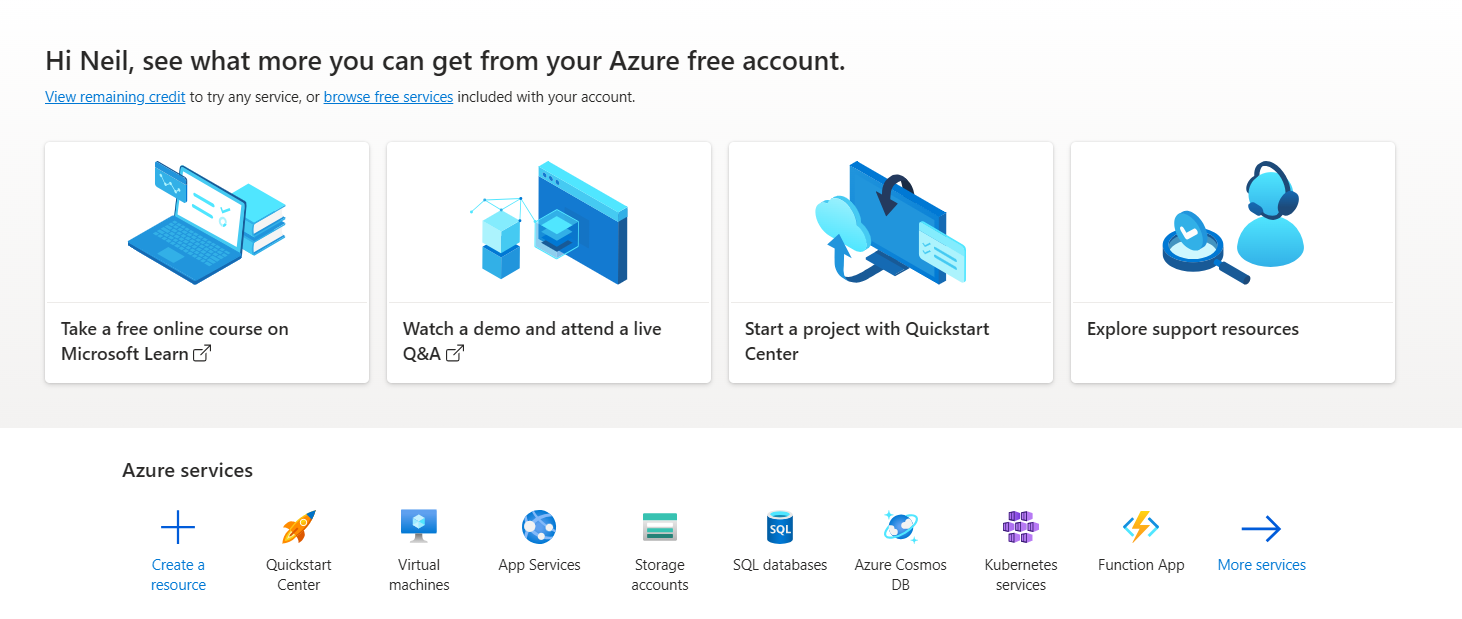
- You’ll be redirected to the Azure portal after clicking on the Go to Azure Portal button.
Cancel your Subscription
If you want to cancel your subscription after you have run out of credit then:
- Select your subscription from the Azure portal.
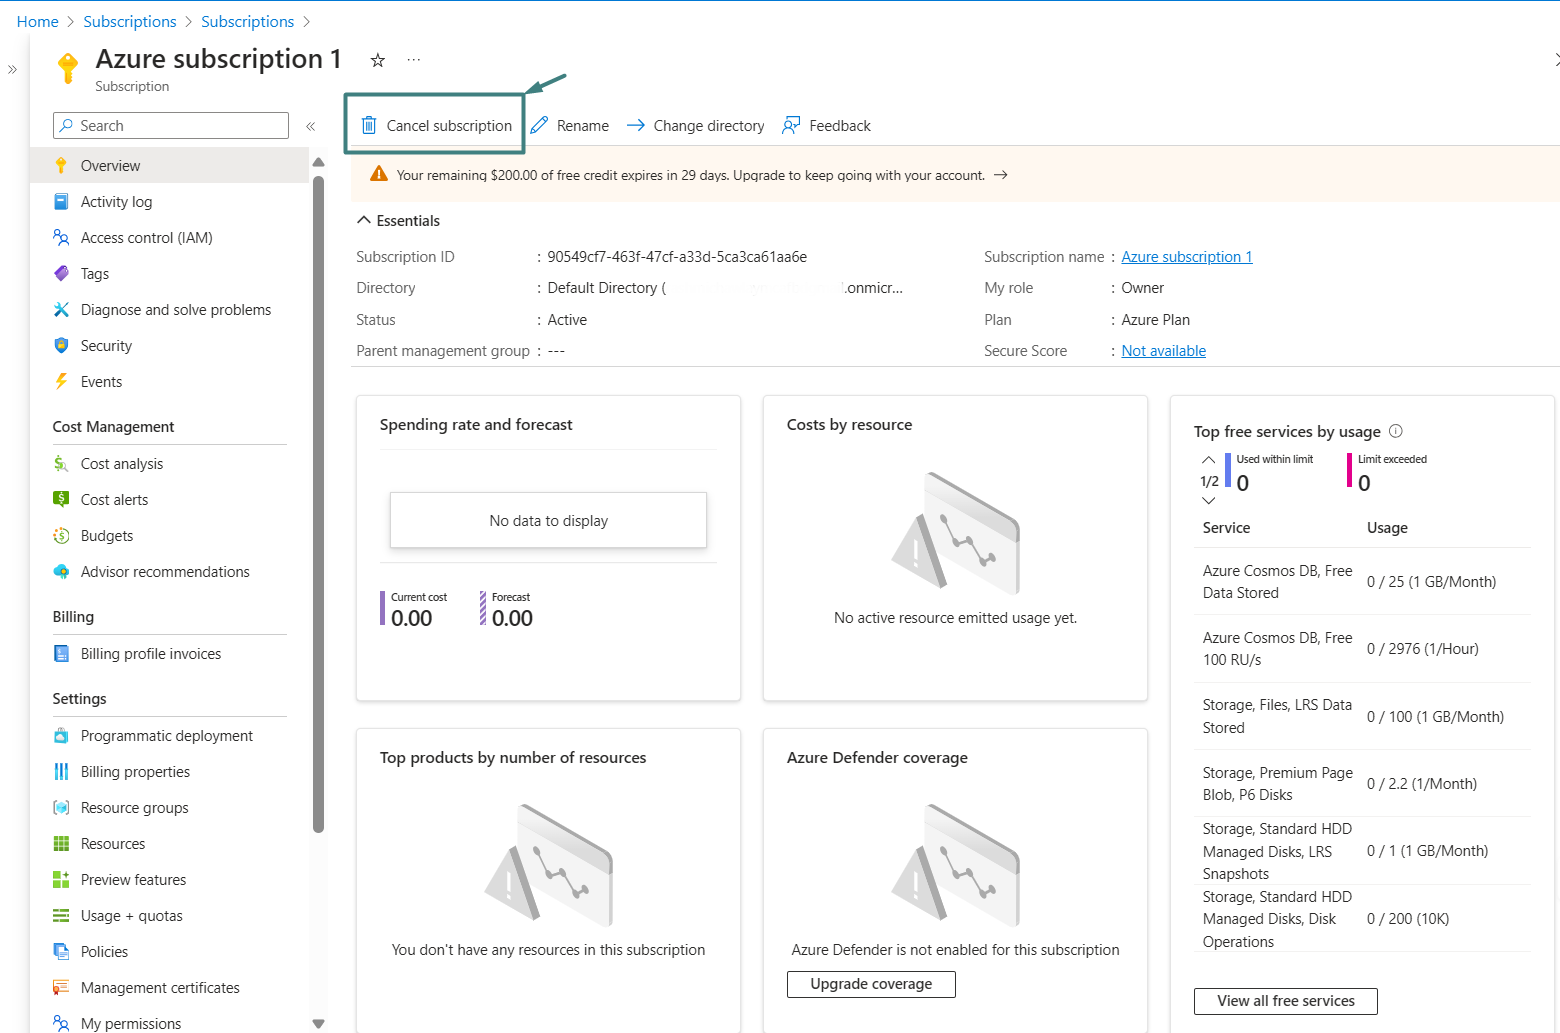
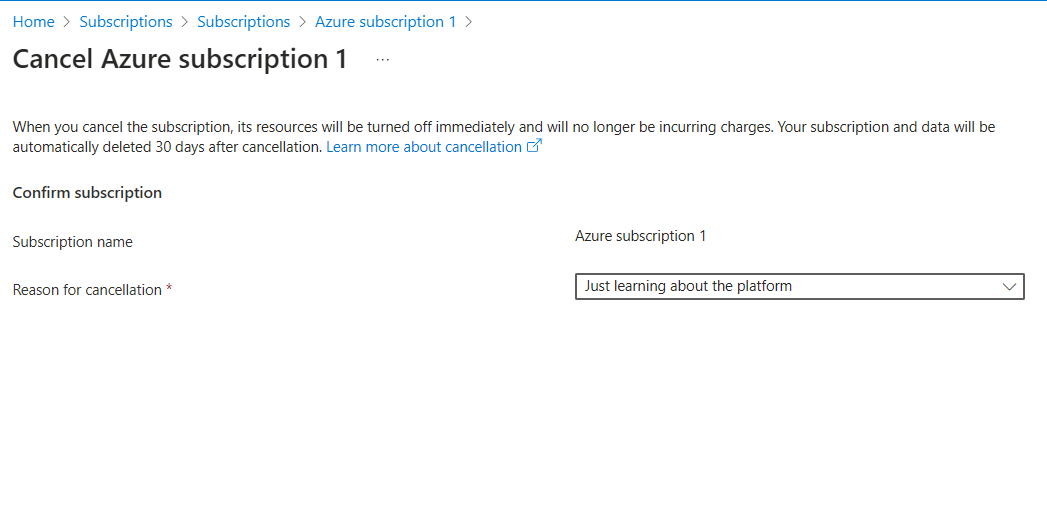
- Now, just click on cancel the subscription and provide a reason to confirm your action.
Setting up Personal Power BI Environment
Well, if you are reading this post then you all know that Power BI is widely adopted across corporations for reporting and decision making purposes. But it's also perfect for your personal projects!!
Power BI and Microsoft Fabric work together really well. You can use Power BI on its own, or as part of Microsoft Fabric, which helps manage everything smoothly. A lot of Power BI Admin tasks is now integrated with Microsoft Fabric and is more commonly called the Fabric Admin.
There are two ways to get a Power BI license. Either you can sign up and go for a license yourself or ask an admin of your organization to assign you a license. Since we want a personal environment, we will go with the first option.
Note that Power BI requires that you use a work or school email address. You can't sign up or purchase using email addresses provided by consumer email services or telecommunication providers such as outlook.com, hotmail.com, gmail.com, and others.
The general advice you will find online is to go for a Microsoft 365 trial that expires in 1 month but I will show you an alternate way which you won't come across easily and there is no expiry. 😊
Microsoft Entra ID (previously Azure Active Directory)
This is one of the Azure services where one would go to manage cloud indentity and user access. Without going into too much details, you will use this to manage your personal login as well as add users in the future when required.
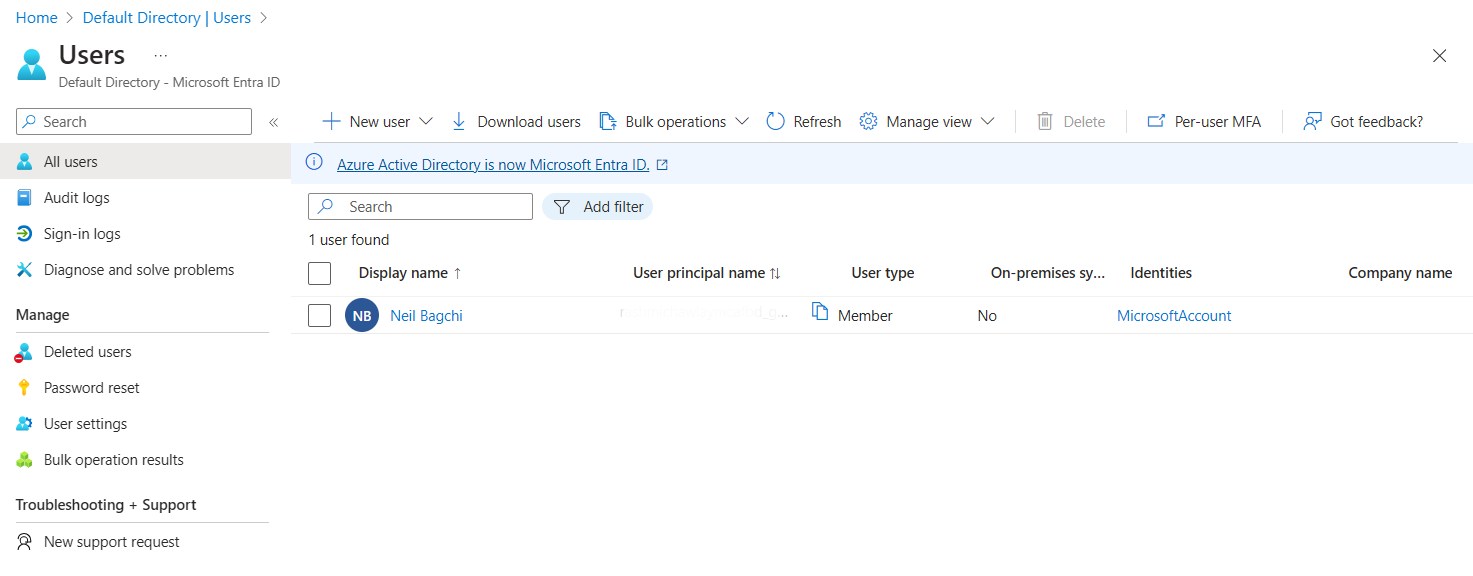
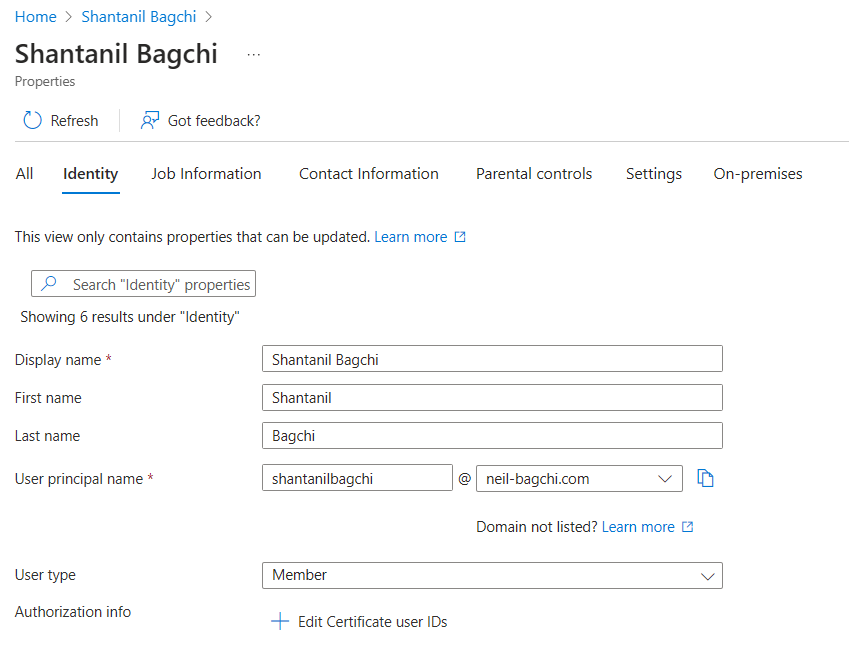
- Search for Entra ID on your Azure Portal and click on 'Users' option on the left. You should arrive at a similar page where you should ideally see a single user (you😉).
- Click on your name and then 'Edit Properties' at the top. Simplify the user principle name for ease of access. This is now going to act as your work email for signing up next.
Sign up for Microsoft Fabric (Power BI)
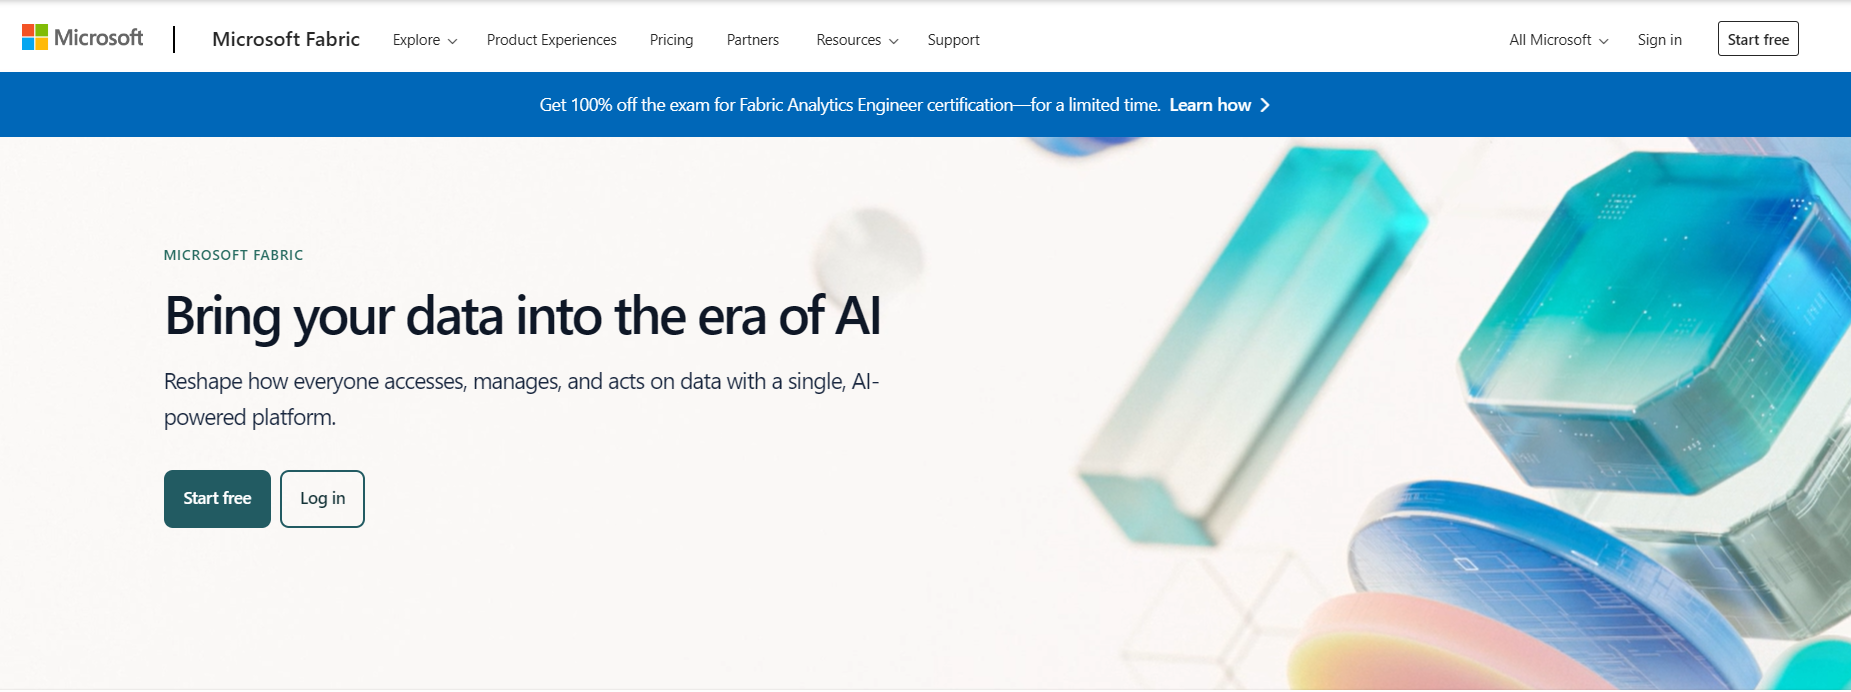
- Now, head over to Microsoft Fabric page and click on 'Start free' option.
- You will be redirected to a login page where you must enter your 'work email'. Yes, it's the same one as shown in the previous section. If you try using your personal email then it will give you an error.

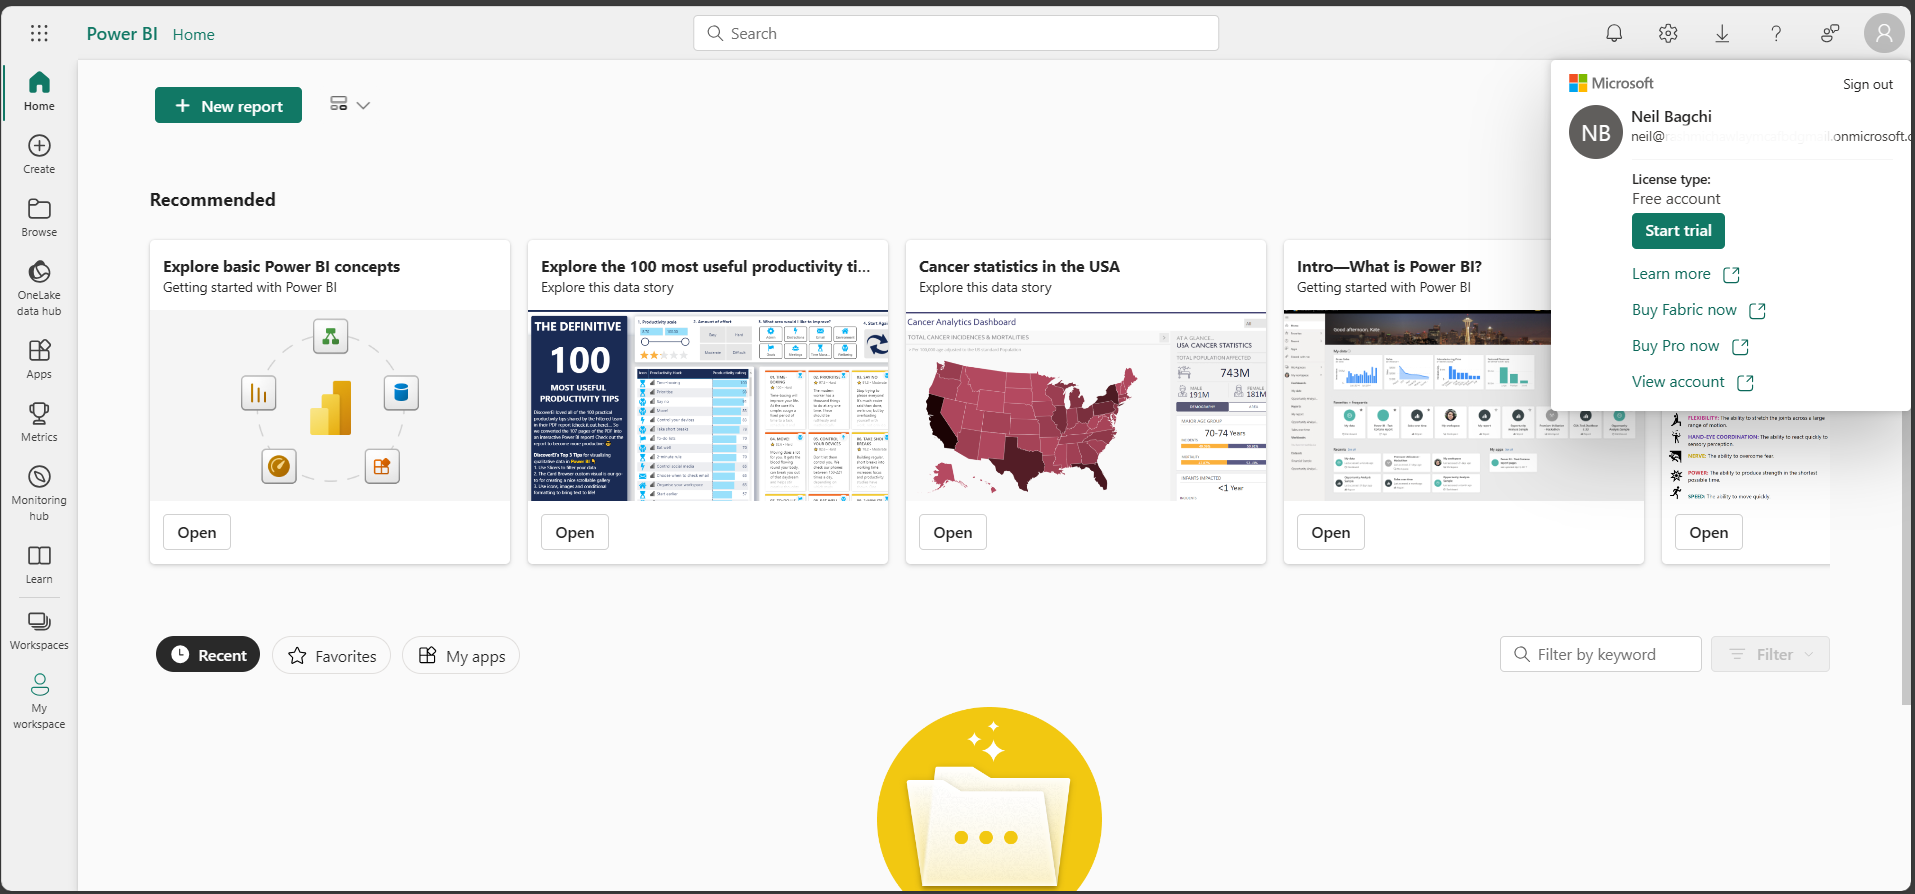
- Fill out all the details and that's it. You have your personal Power BI playing ground.
Understanding licensing strategy
Everyone who uses the Power BI service must have a license, however, understanding Power BI licensing can indeed be quite challenging, especially for beginners.
To clarify, let's break down the Power BI licensing into two main categories: Per-user licenses and Capacity-based licenses.
Free Licenses (Per-user):
For report authors, Power BI Desktop offers a robust environment to create comprehensive reports, utilizing all features available to paid licenses. However, the limitation arises in sharing these reports.
- Reports can only be published to 'My Workspace', that is inaccessible to others.
- Also, features like creating and managing dataflows are unavailable with the free license.
However for report consumers, if their organization has implemented Premium capacity (which we discuss later), they can access content without additional cost.
Pro License (Per-user):
This license extends capabilities for both content authors and consumers. Authors can publish reports to both Standard and Premium workspaces. Consumers, on the other hand, require a Pro license to access content if their organization doesn't have dedicated capacity. The current cost for a Pro license is $10 per user per month.
Premium Per User License (Per-user):
Considered as a 'Pro license on steroids', this license combines all Pro features with most features from Premium capacity-based licenses. Content authors with PPU can publish to regular workspaces, but there's a distinction for consumers: Pro-licensed users cannot access content created by PPU-licensed users unless it's in a Premium capacity workspace. PPU licensing can be acquired as an add-on to Pro for an additional $10 per month, or as a standalone for $20 per month, per user.
Premium Capacity :
This involves paying for dedicated capacity, beneficial for larger organizations with extensive BI needs. It provides advanced features and dedicated resources. There's a monthly cost for this reserved environment starting at around $5,000 per month.
However, content stored in Premium capacity can be accessed by and distributed to users who don't have Power BI Pro licenses. At least one user must have a Power BI Pro license assigned to use Premium, and any additional content authors and developers will at least need a Power BI Pro license.
Standard Capacity:
Here, workspaces are placed in a shared capacity, meaning resources are shared with other non-paying organizations.
The two types of subscriptions aren't mutually exclusive. You can have both Power BI Premium and Standard. In this configuration, content stored in Premium capacity can be shared with all users and shared capacity is also available for non-essential reporting.
Key Points to Remember:
- User vs. Capacity: The fundamental distinction is between individual user licenses (Free, Pro, PPU) and organizational capacity-based licenses (Standard, Premium).
- Free License Limitations: Free license users face significant sharing and feature limitations.
- Pro License Accessibility: Pro license is cheap and provide most features. Pro Users can access and share more but consumers need a paid license to view content in non-premium workspaces.
- PPU License Flexibility: Offers the most features, but requires either a Pro license or premium capacity for content sharing and viewing. Generally, an organization will have only a handful of these.
In summary, the choice of license in Power BI depends on the user's role (author or consumer), the organization's capacity (Premium or Standard), and the desired level of access and functionality.
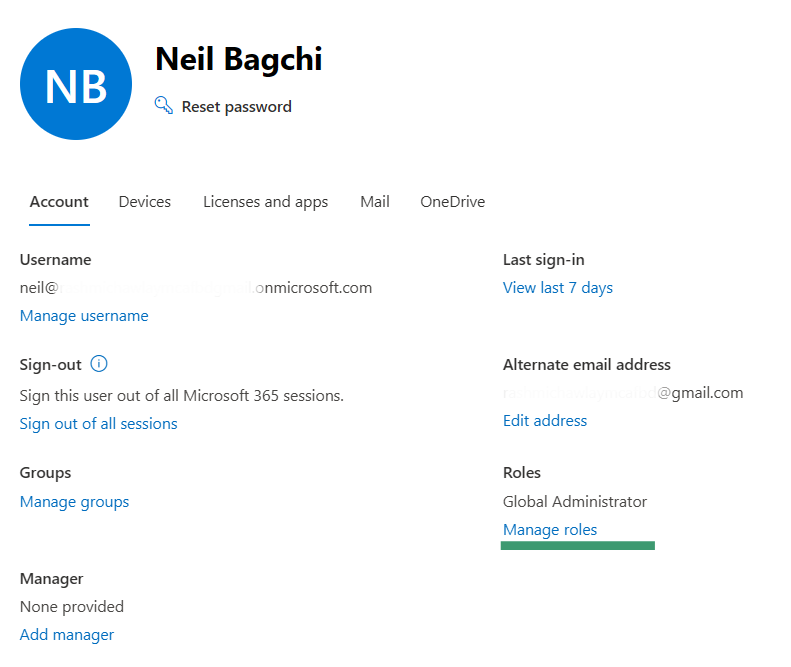
Head over to Microsoft 365 Admin Center and go to the Active users section. You can set-up multi-factor authentication (MFA) here. But that is not why we are here.
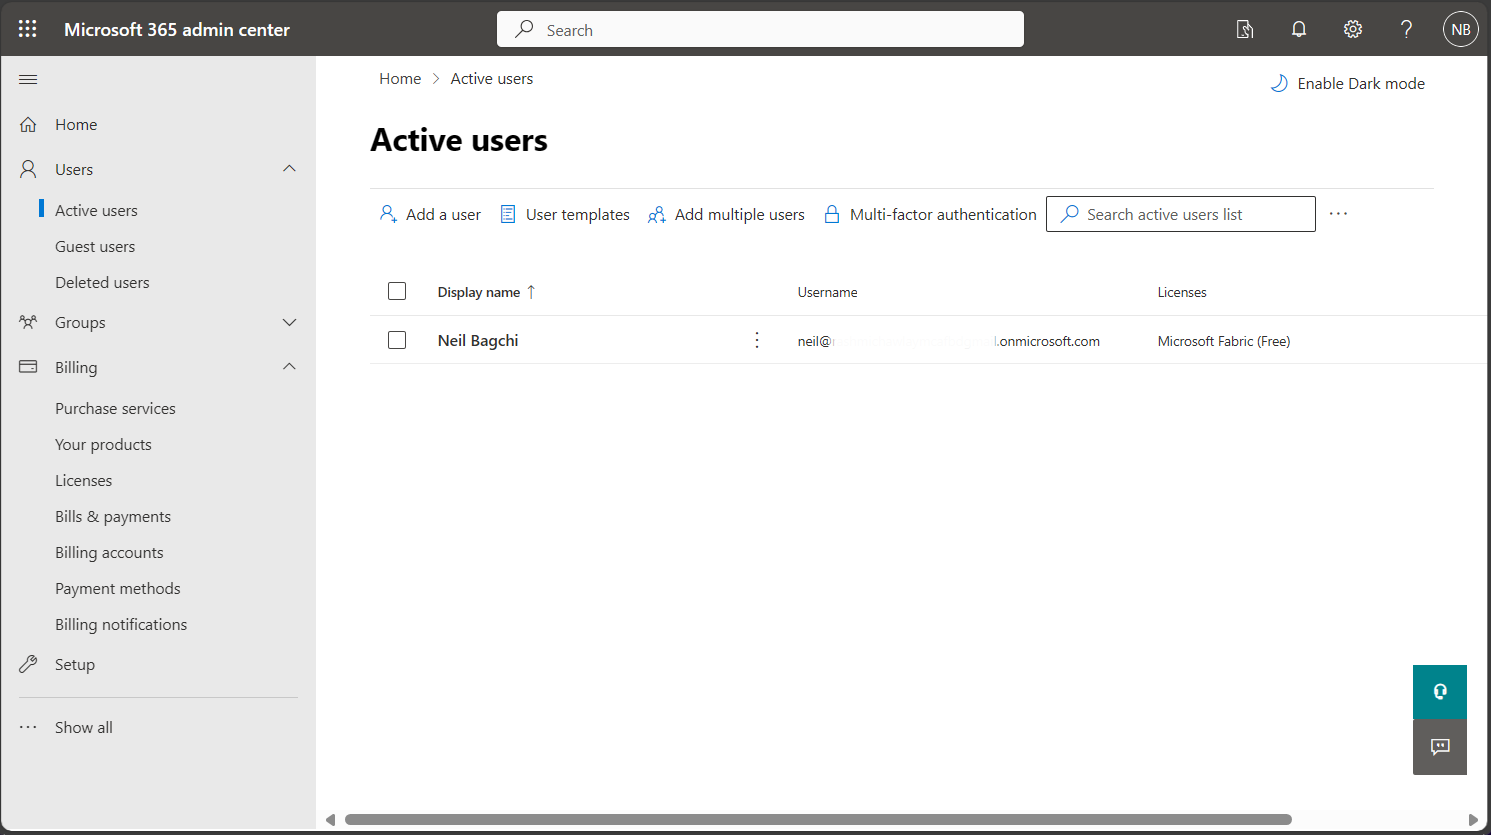
If you click on your name, you will notice that you are the Global Administrator. What this means is that you have the super-power to manage the Azure environment similar to how an organizational admin would. If required, you can provide licenses to new users of your Azure tenant too.
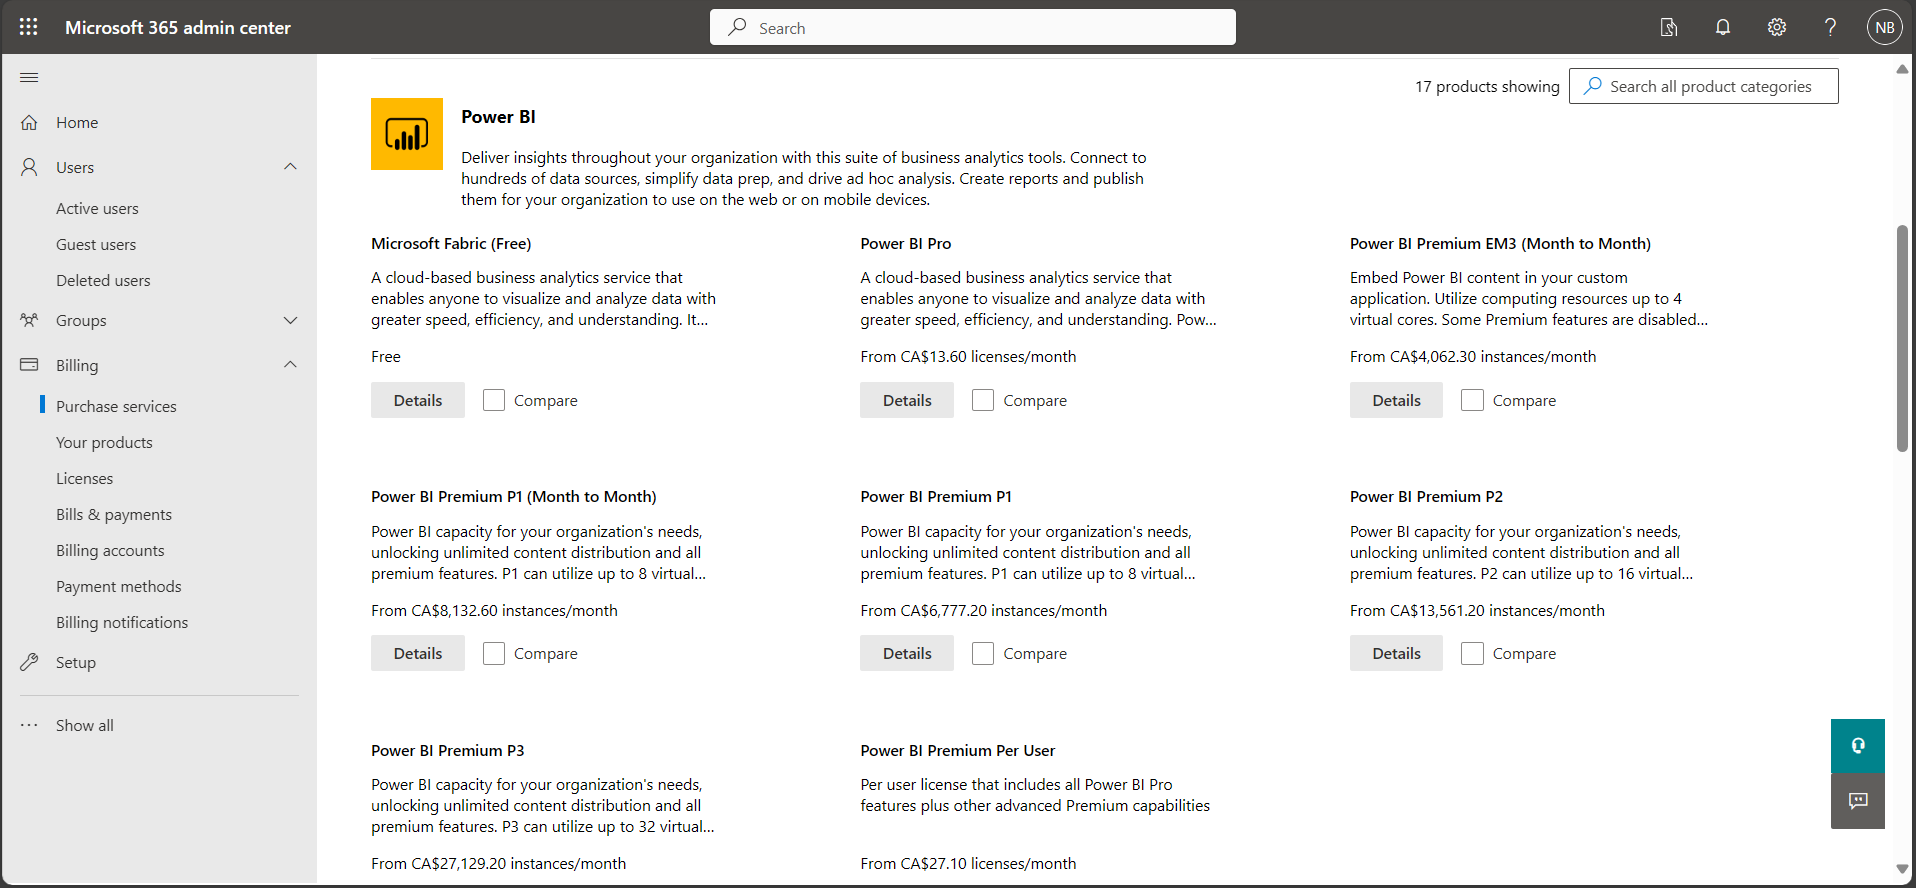
Since you are an admin now, you also have the capacity to buy new licenses or even capacities. You can check them out by clicking on 'Purchase Services'.
Continuing your Journey
By following this detailed guide, you're now ready to utilize the power of Azure and Power BI, unlocking a world of opportunities for both personal and professional development. Keep this guide handy as you continue your journey, and consider sharing your experiences to support others in their learning paths. That's it for this post. Feel free to check out my previous posts on Source control strategies, XMLA endpoints, REST API, PowerShell cmdlets, Power BI Template Files and Power BI for Business Users.
FAQs
Why am I not eligible for an Azure free account?
There are several reasons why you might receive the error message:
- Previous Usage: Your email address or credit card has already been used in the past to set up a free Azure account.
- Invalid Information: The address, phone number, or email details provided might be incorrect or invalid.
How long can I use Azure for free?
You can use Azure for free for 12 months. During this period, you will receive periodic emails containing best practices, training tips, tricks, and various offers related to Azure.
Can I create an Azure free account without a credit card?
Yes, Azure offers free credits to students and allows registration without needing a credit card. Alternately, you can also use your Debit Card for signing up as well.
What happens if you don't pay for Azure?
If you do not pay for Azure on time:
- Subscription Disabled: Your subscription will be temporarily disabled, and you won't be able to access your Azure resources.
- Notifications: You'll receive reminders via email and in the Azure portal to make your payment.